2. Tileview
2.1 Create a tileview widget
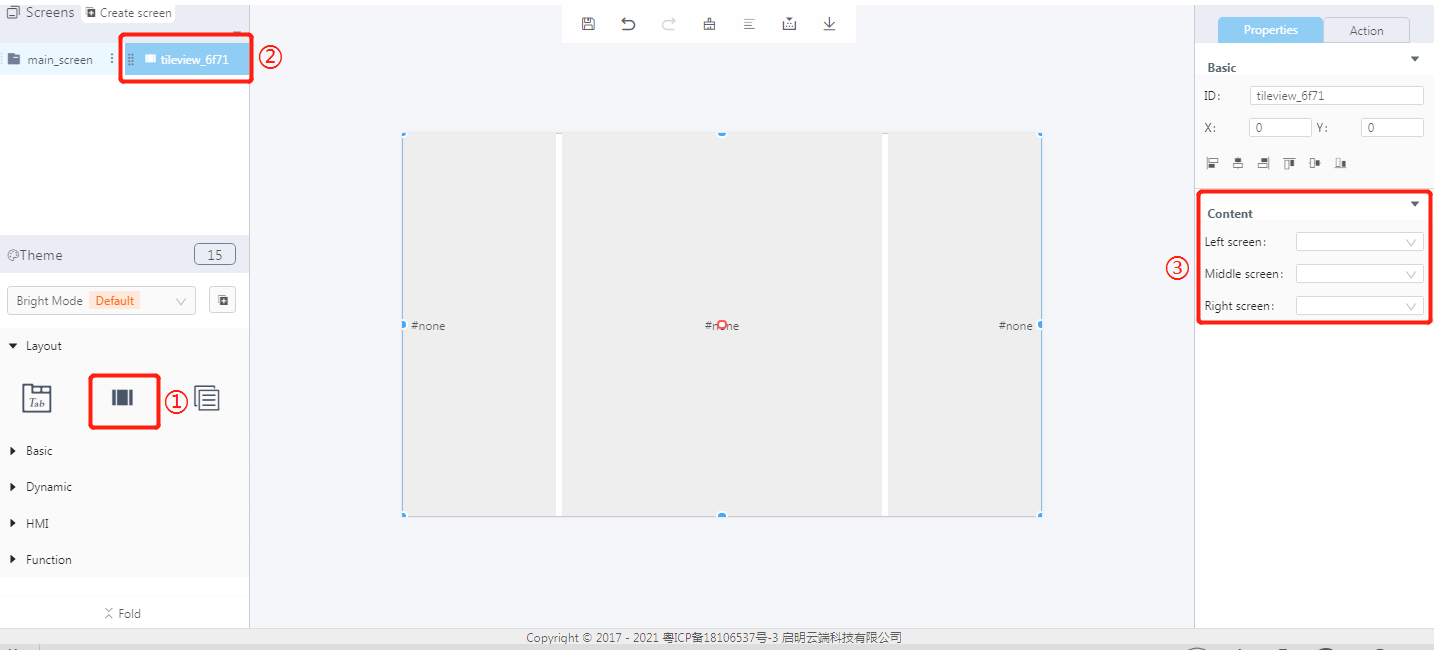
① Create a tileview widget
② The tileview widget ID
③ Set the left, middle and right screens
2.2 Steps for use
2.2.1 Widget properties
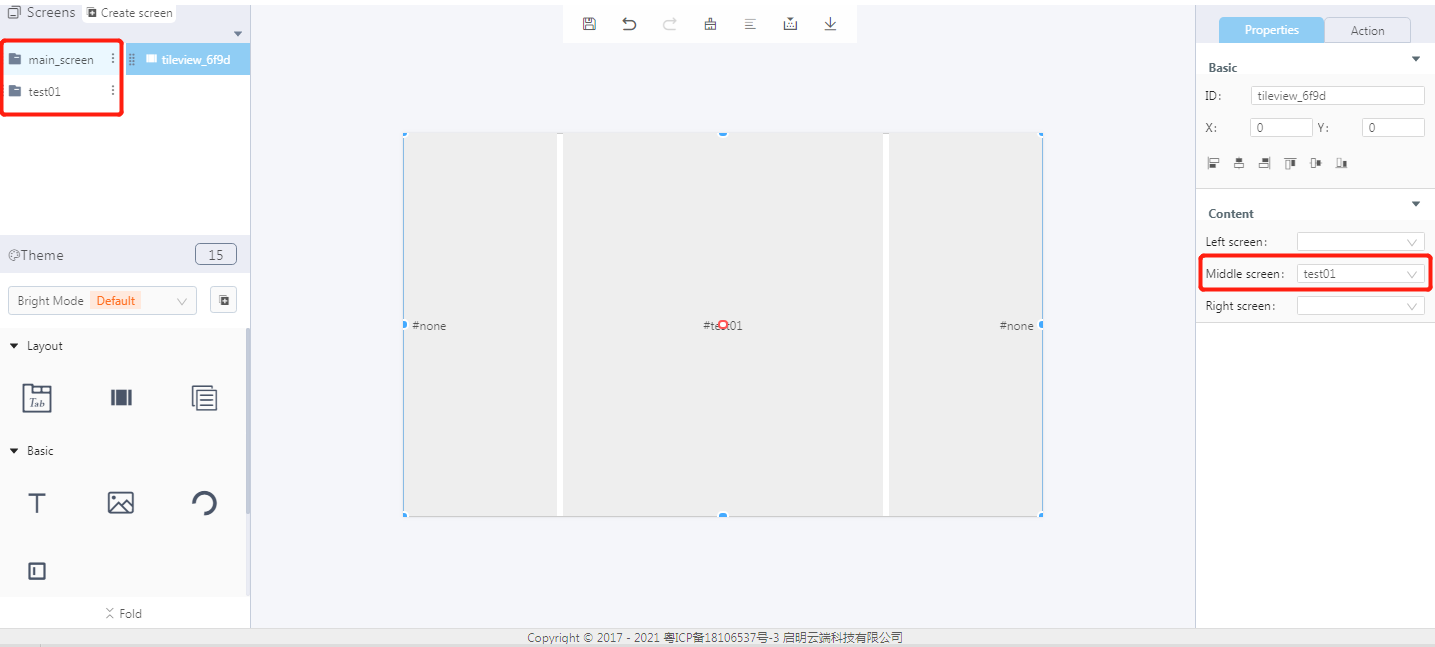
Properties-Basic:
ID: Tileview_6f9d is the unique ID number of the tileview widget
X, Y: its coordinate position in the display area
Width, Height: set the size of the widget
Alignment (in order): left alignment, horizontal center alignment, right alignment, top alignment, vertical center alignment, bottom alignment
Properties-Content:
- Left screen, middle screen and right screen. You need to create screens in advance. Then set the left, middle and right screens, which will be displayed in the corresponding area.
2.2.2 Create a new screen
- Click to create a new screen.(Demo: three screens test01, test02, and test03 will be created; screen type: screen)
Note: The premise of adding a screen to the content is that there are multiple screens prepared in the same project.
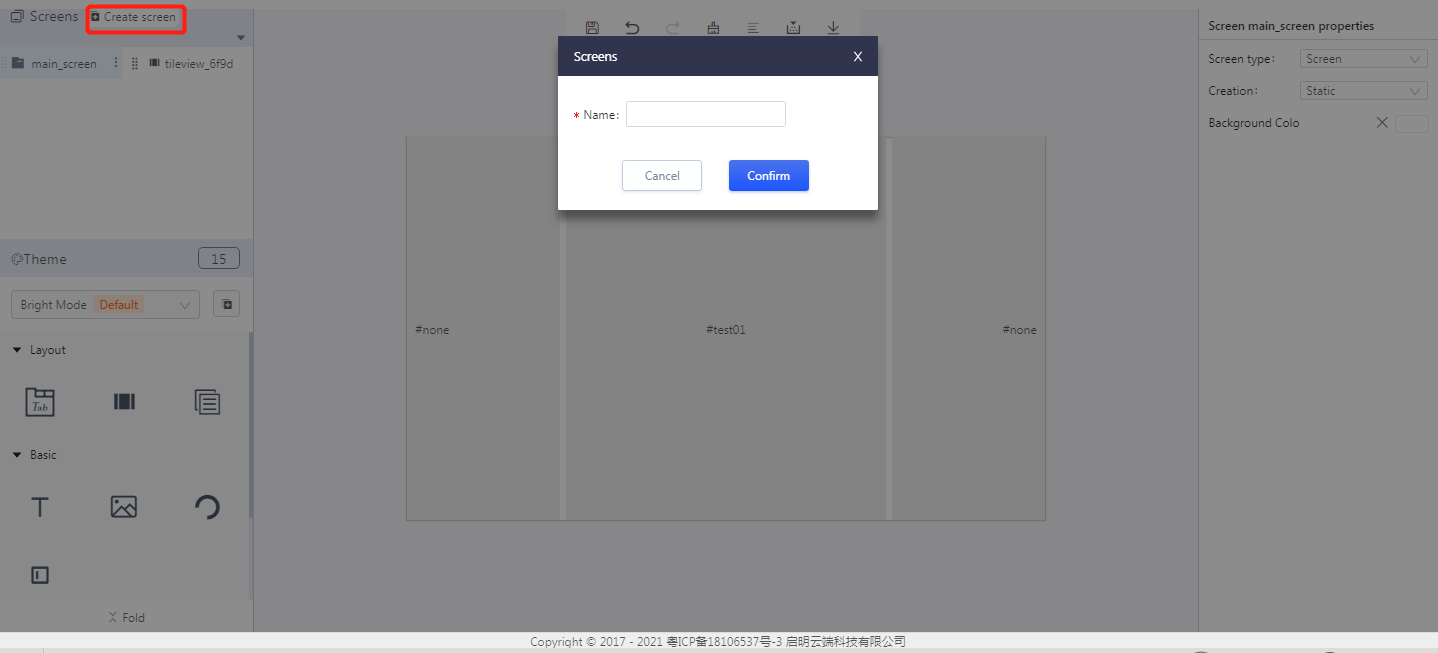
- The created screens
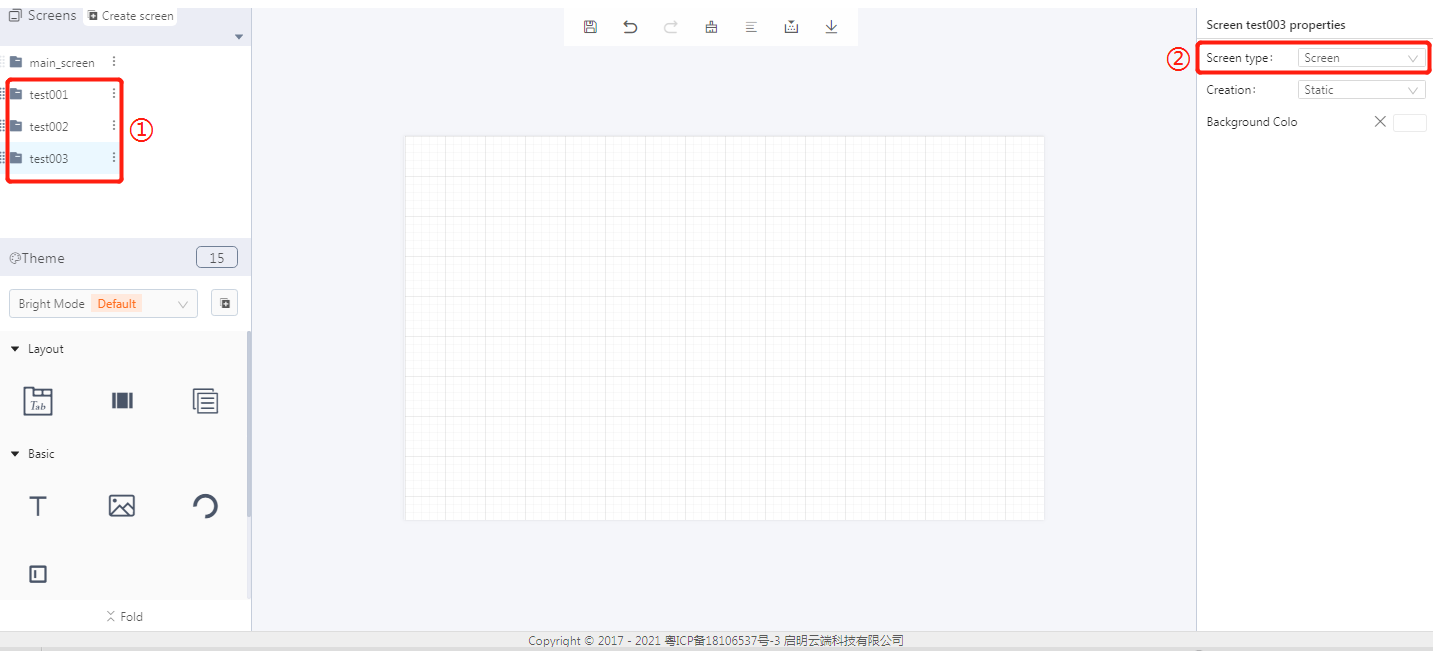
① Screen ID
② Screen properties
- Select and bind a screen for the left, middle and right tiles respectively.
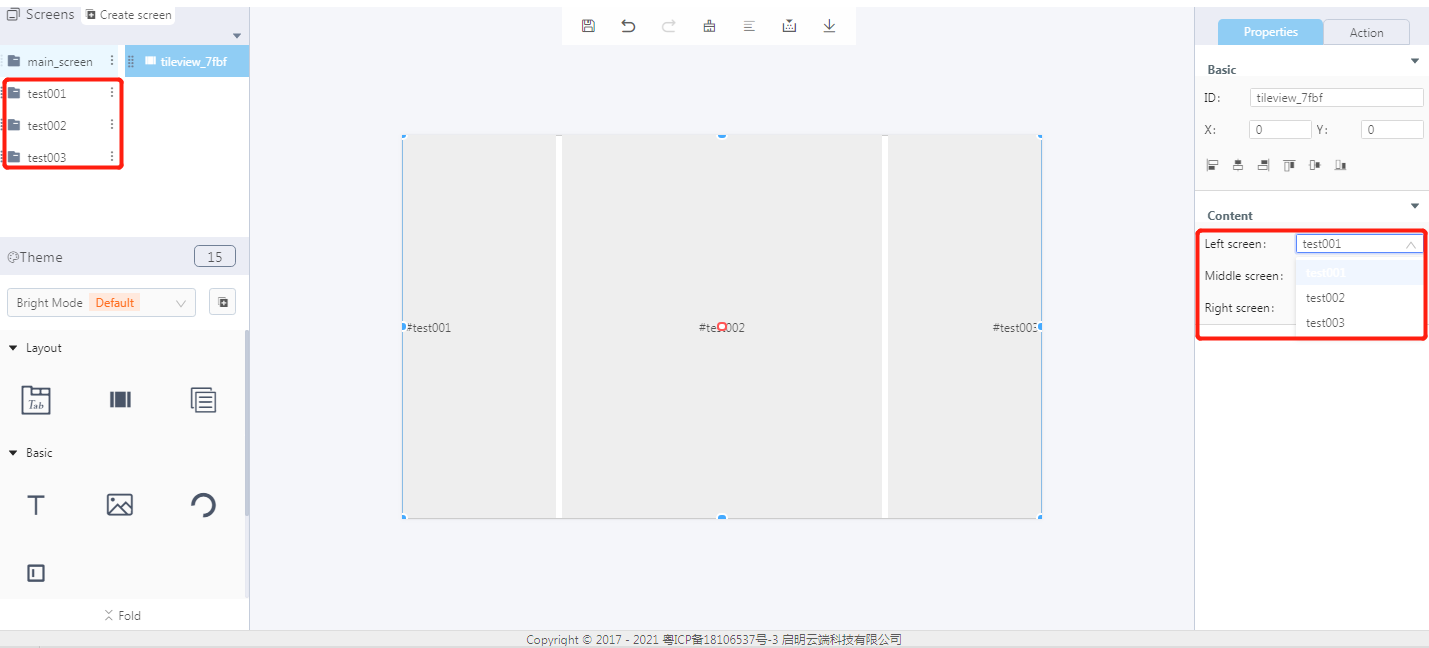
2.3 Download and analyze the source code of the project
- Compile the project and then download the source code of the project.
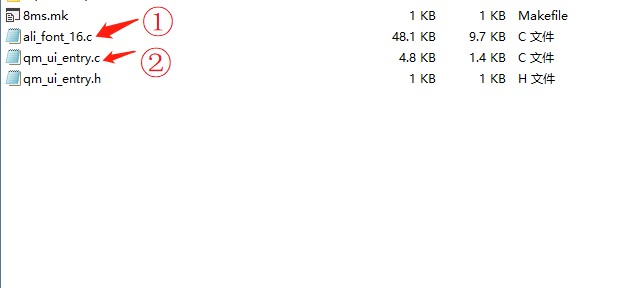
① Font
② Program entry
- qm_ui_entry.c analysis
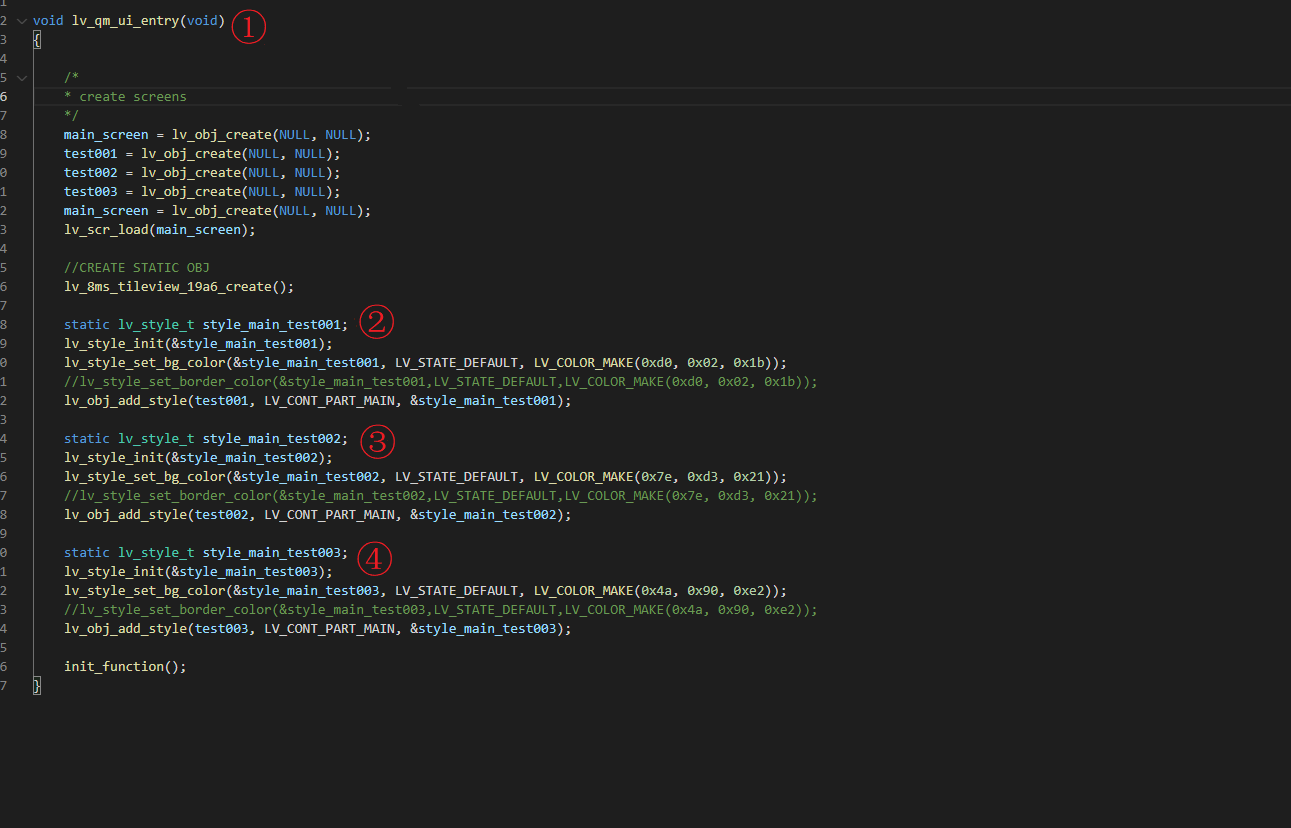
① Entry function
② The style of test001
③ The style of test002
④ The style of test003
2.4 Demonstration
- Project number:3194

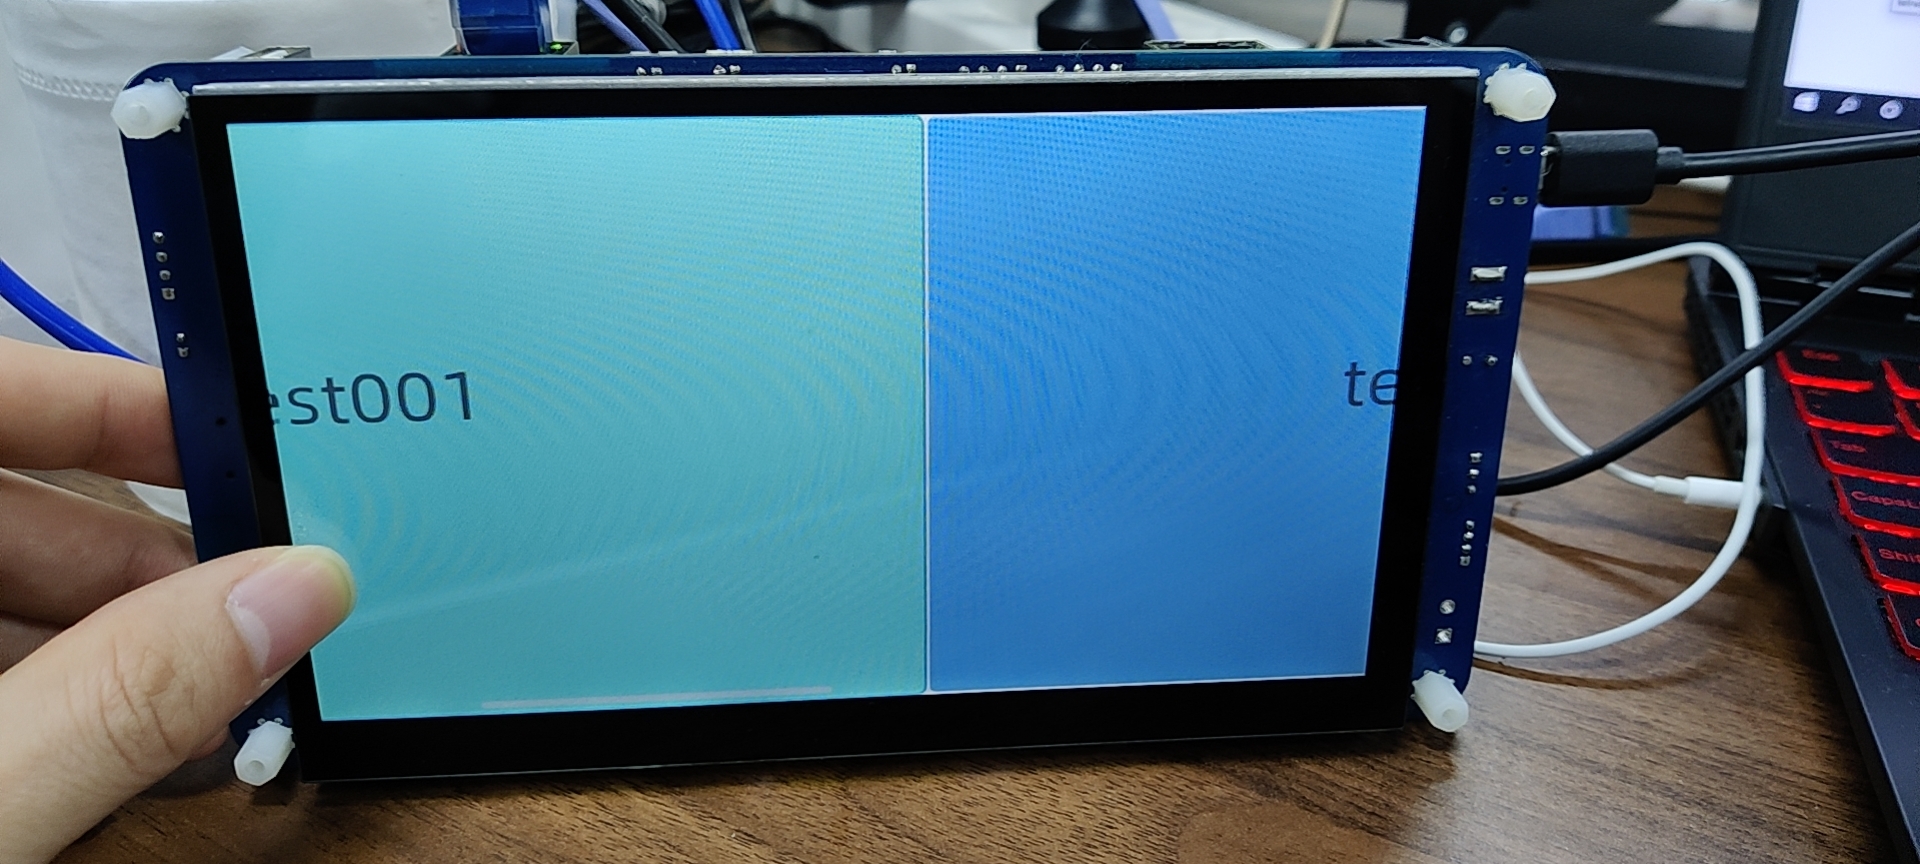
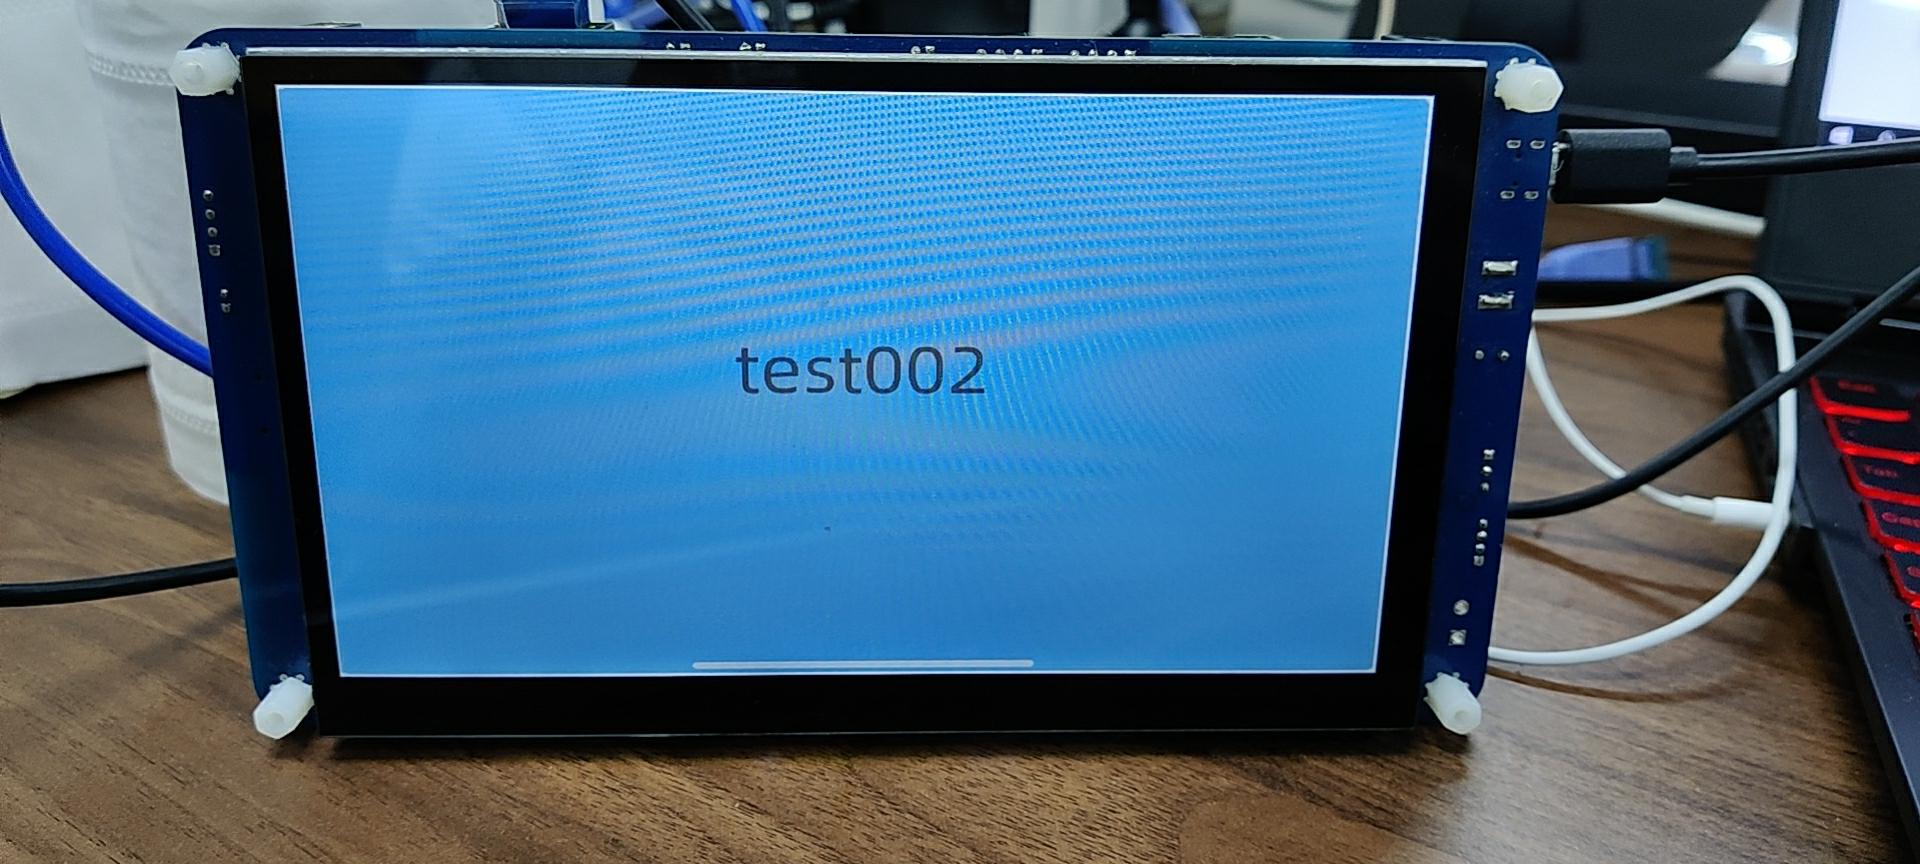
Note: Slide the screen to see the effect.
文档更新时间: 2021-07-13 14:28 作者:plj
