Gauge
1. Create a gauge widget
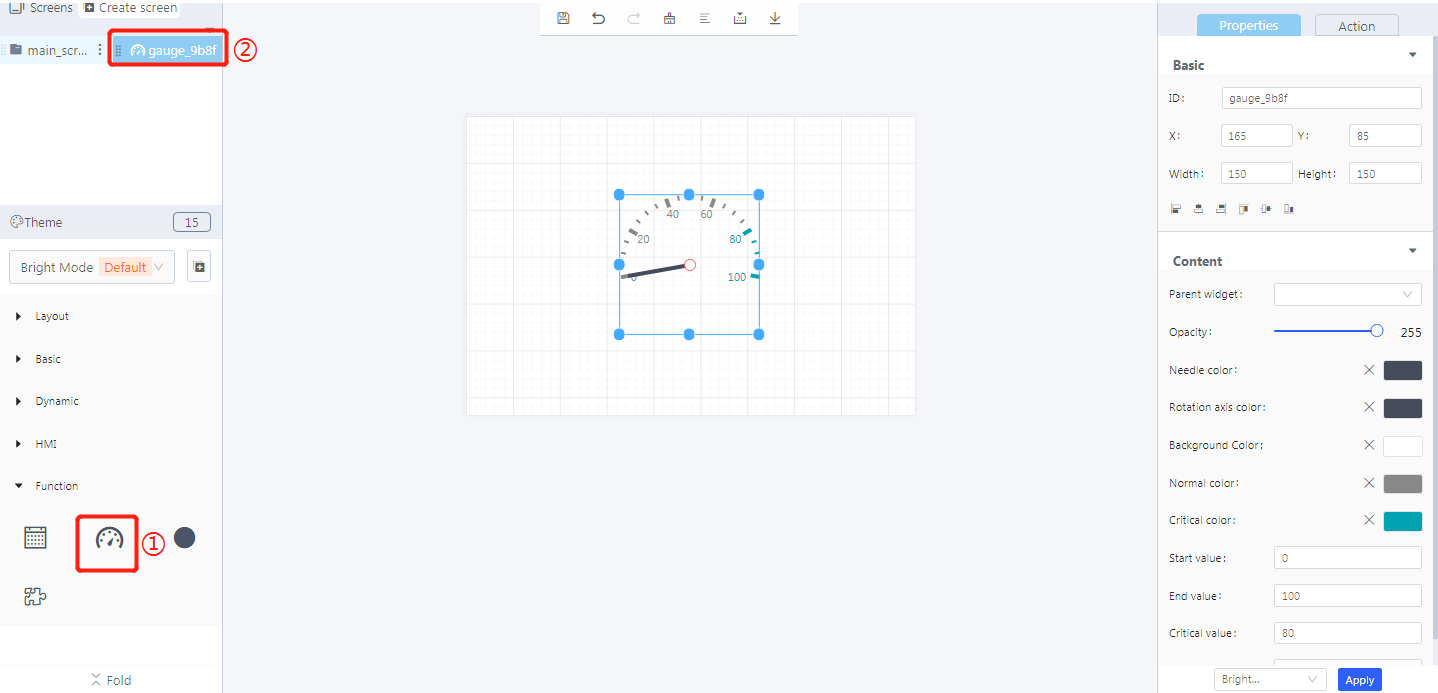
① Create a gauge widget
② Gauge widget ID
2. Widget properties
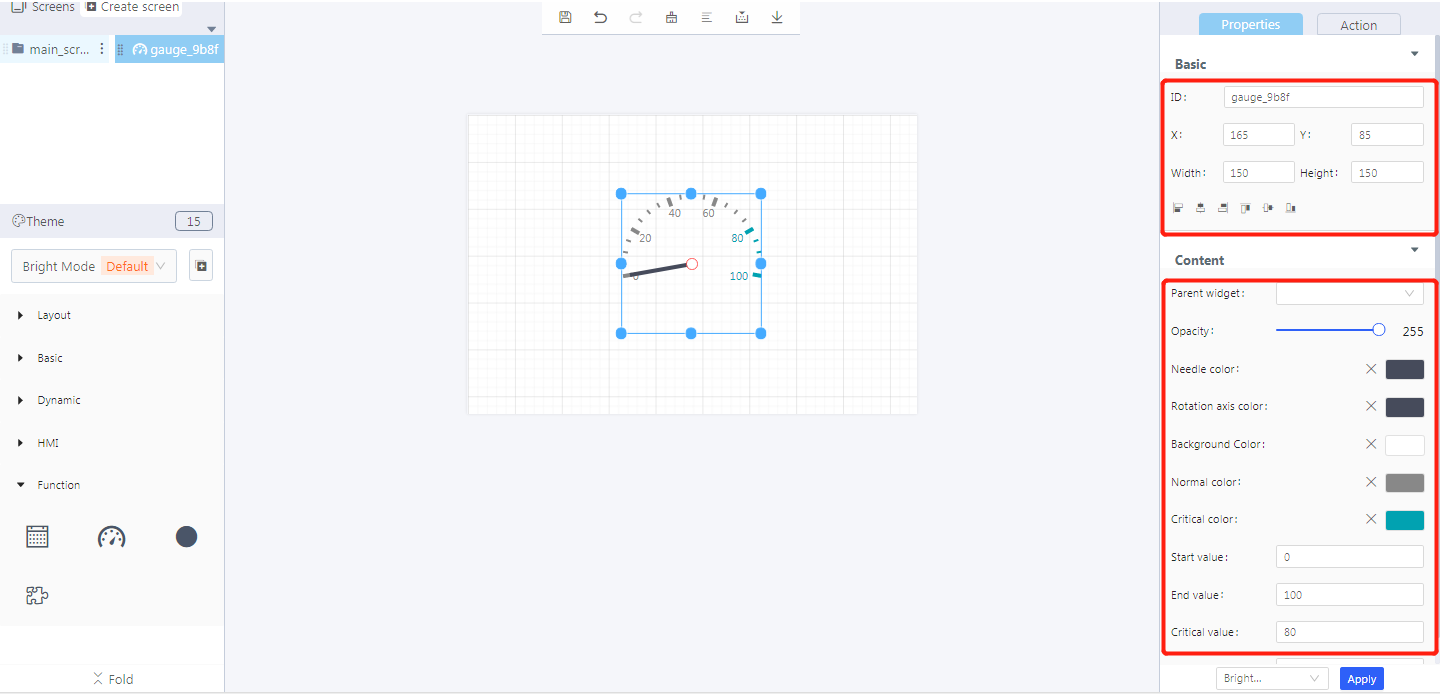
Properties-Basic:
ID: gauge_9b8f is the unique ID number of the gauge widget
X, Y: its coordinate position in the display area
Width, Height: the size of a gauge widget
Alignment (in order):left alignment, horizontal center alignment, right alignment, top alignment, vertical center alignment, bottom alignment
Properties-Content:
Parent widget: set the parent object, and the gauge widget is its child object
opacity: the opacity level of the background of a gauge
Needle color: the needle color in a gauge widget
Rotation axis color: the rotation axis color in a gauge widget
Background color: the background color of a gauge
Normal color: the color of the normal value area of a gauge
Critical color: the color of the critical value area of a gauge
Start value: the start value of a gauge widget (usually 0)
End value: the end value of a gauge widget (usually 100)
Critical value: a warning will be triggered beyond this value
Default value: the value that the needle initially points to
3. Blockly—Gauge
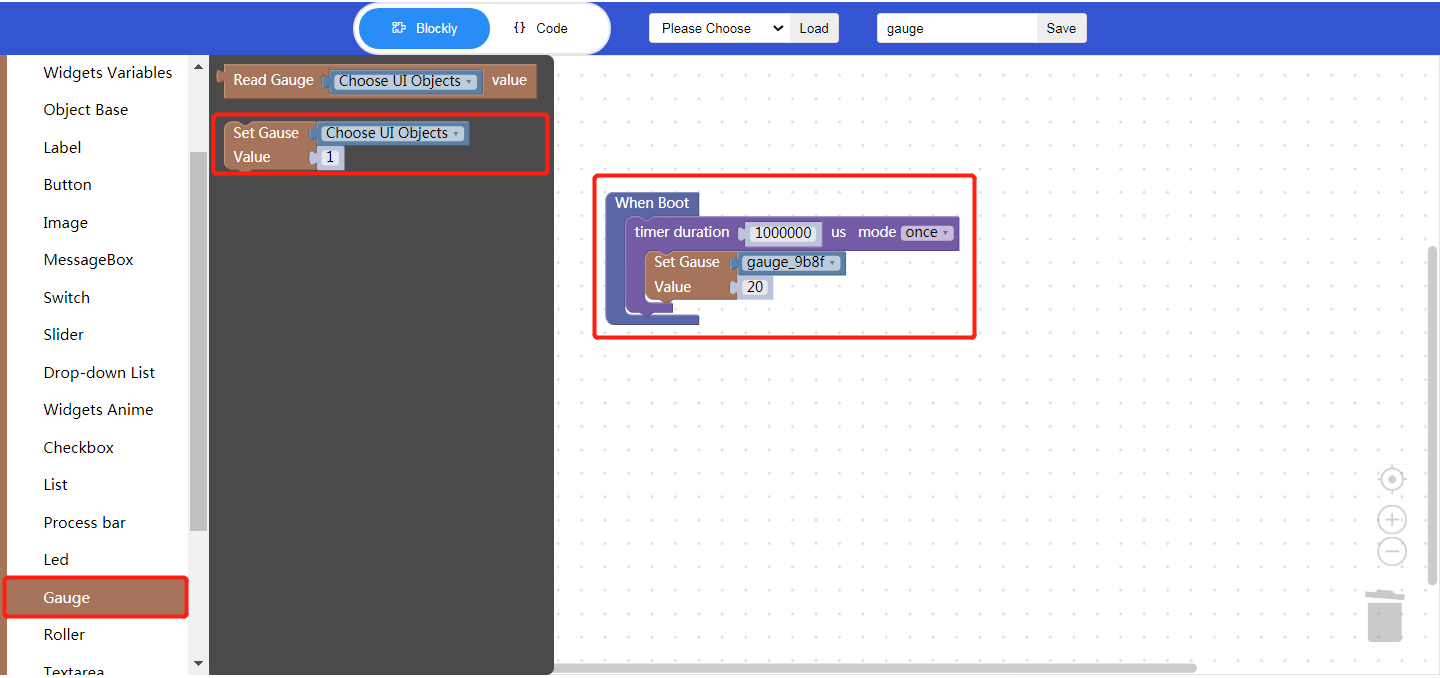
3.1 Set gauge value
- Choose UI objects: choose a gauge widget ID created in Layout-Designer
Value: the value that the gauge needle points to
Example: bind gauge control id: gauge_9b8f, set value: 20
Click “{} code” to view the code: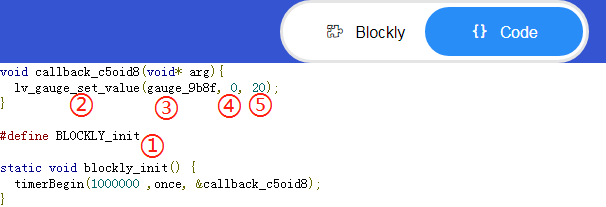
① Blockly init
② API
③ Gauge widget ID
④ Default value of the gauge widget
⑤ Set a value for the gauge
4. Implement a gauge example with Blockly (ssd201)
Example description: the Gauge’s needle swings from 0 to 100 on average within 5 seconds after booting.
UI design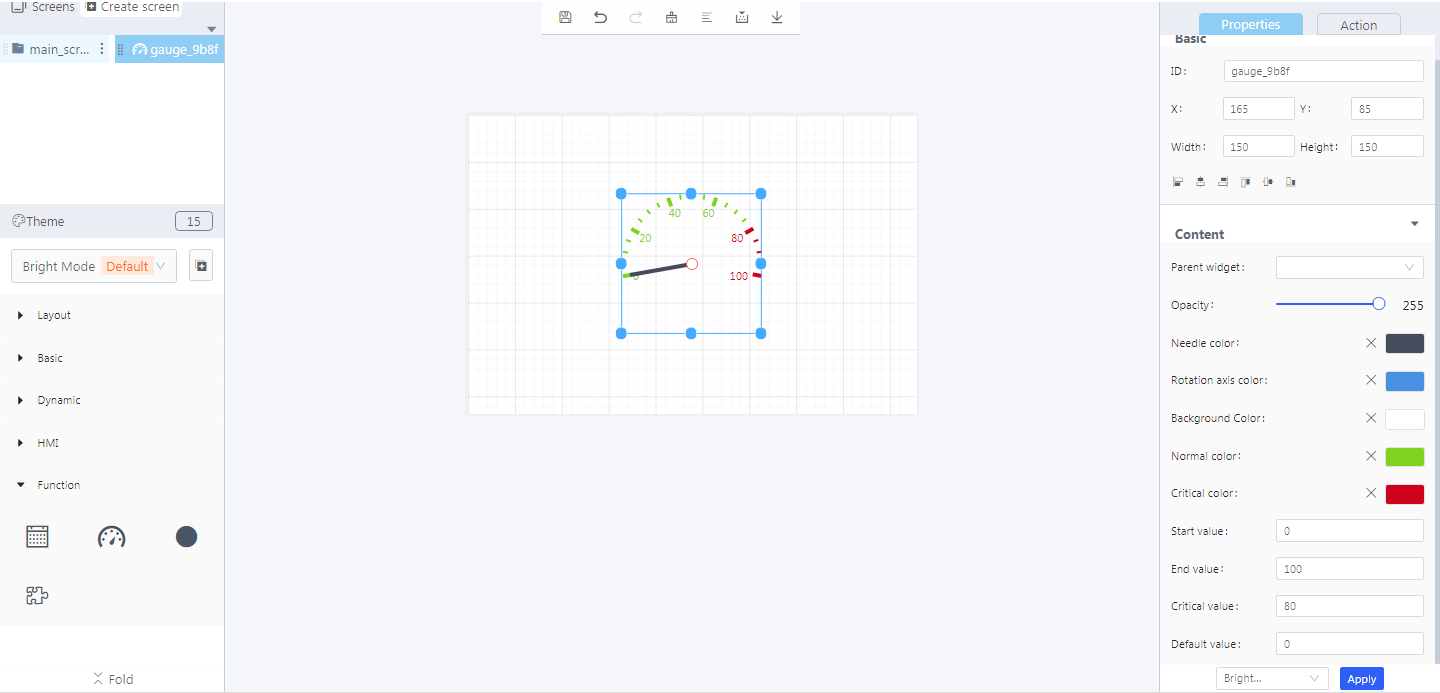
Create a gauge widget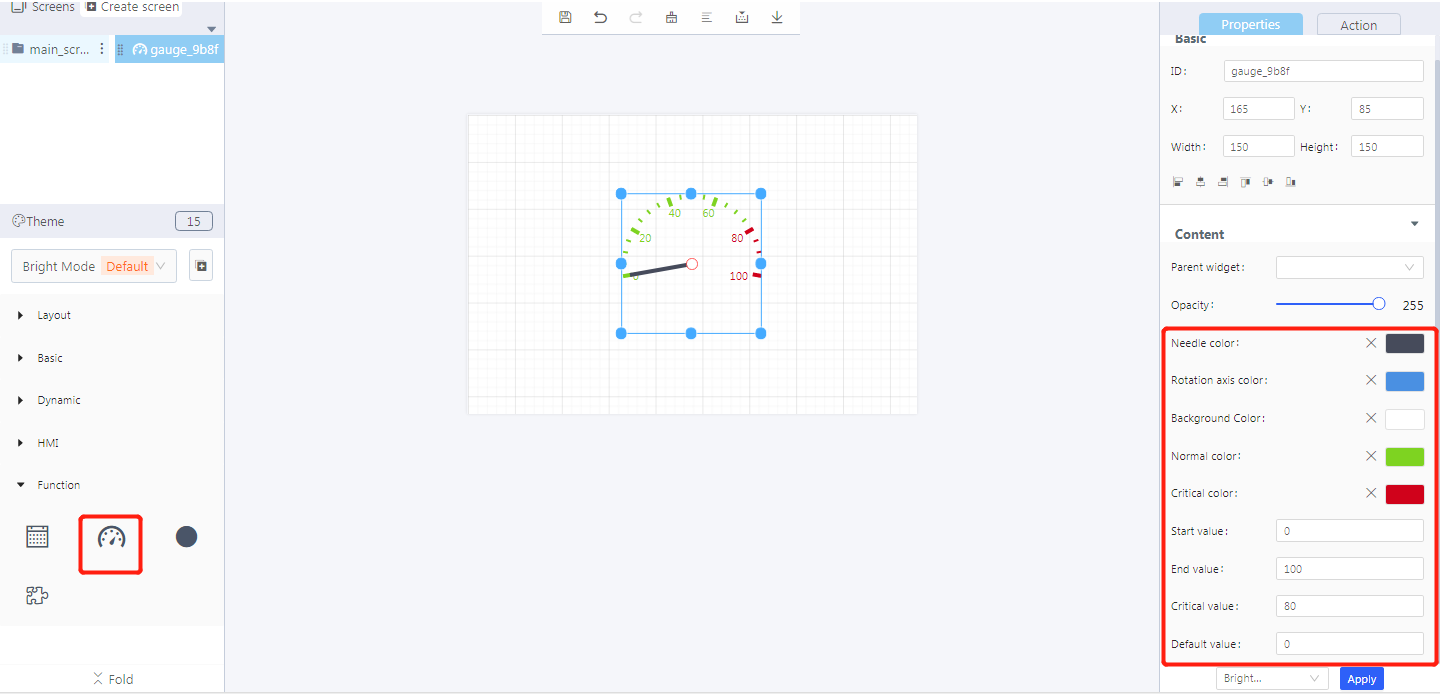
Blockly design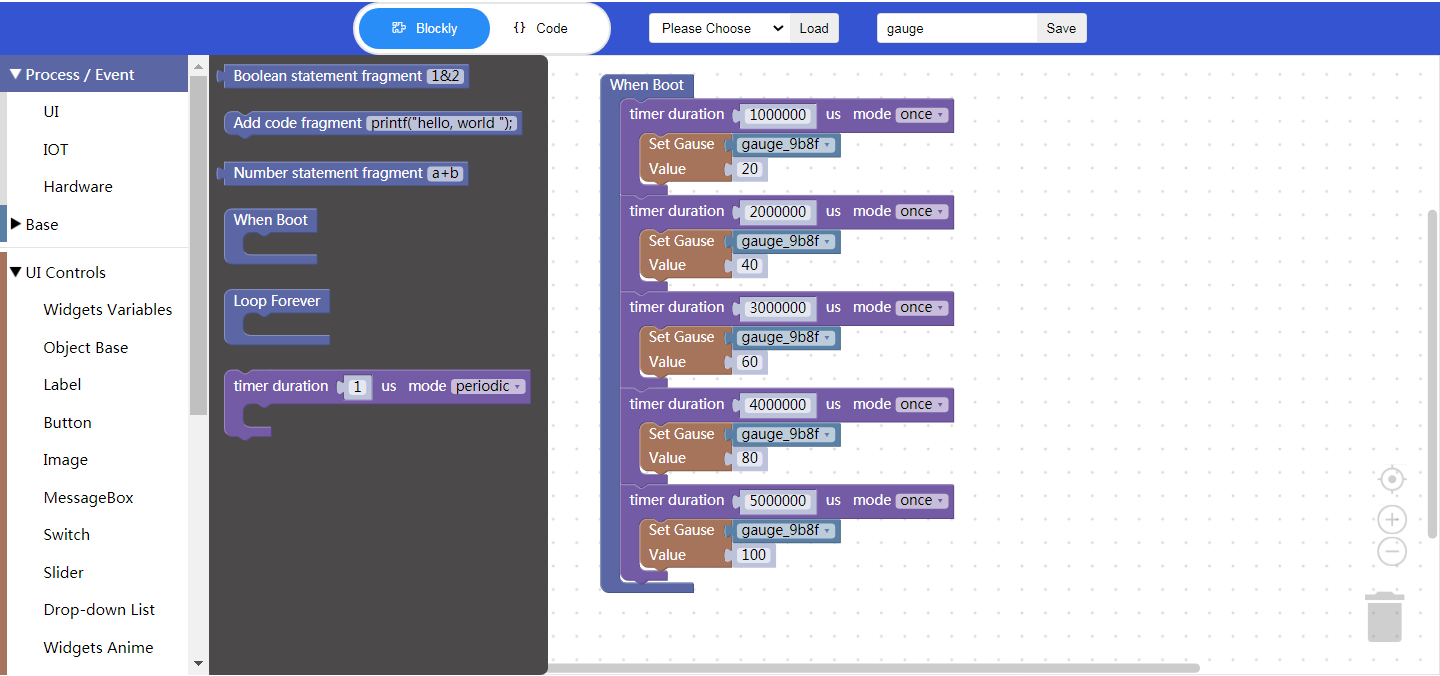
Demo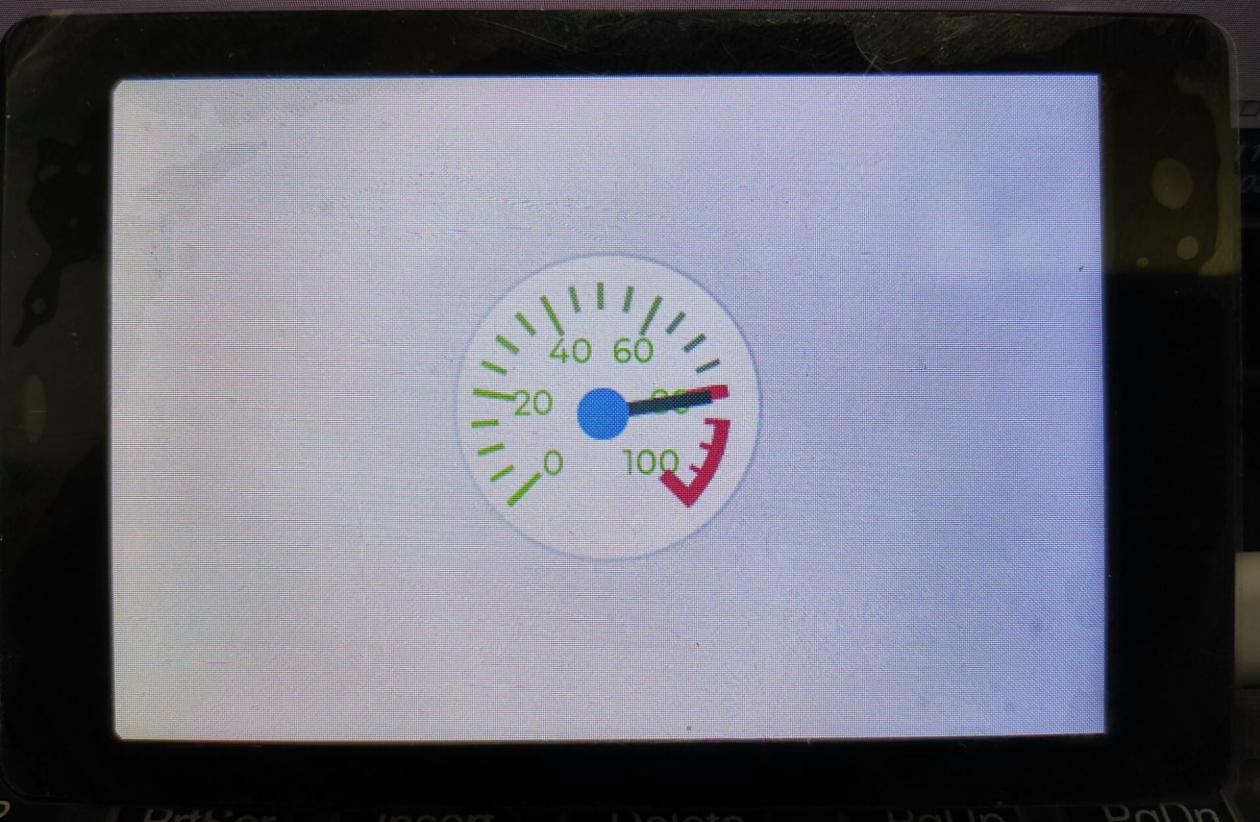
5. Download and analyze the source code of the project
Zip files

qm_ui_entry.c analysis
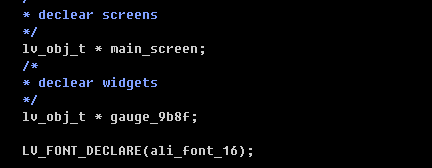
Relevant variable declaration
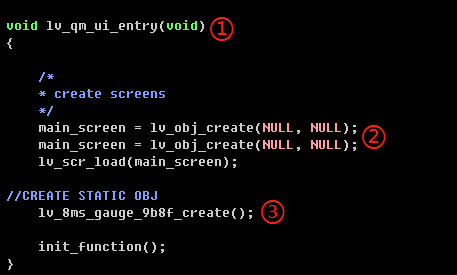
① Entry function
② Create objects
③ Create widgets
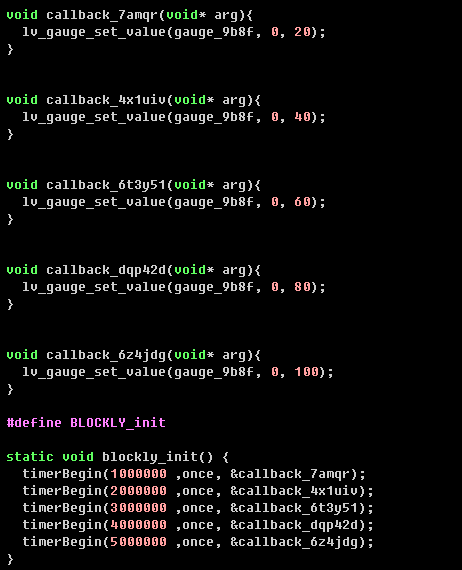
Blockly logic implementation
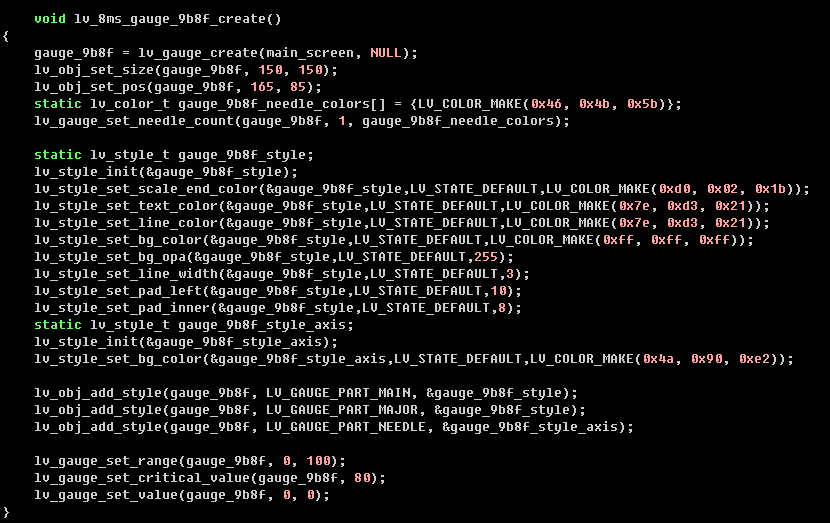
Create the gauge widget and set its style
