Image
Resources management
Image encoding mode
1. Create an image widget
- The image icon is as shown below.

Note:
1.For the selected images, the platform will name them in order. It is recommended to add them to the resources library in order.
2.The image widget will adapt to the image size. It is recommended to make the image size as needed before uploading it.
Introduction to an image widget:
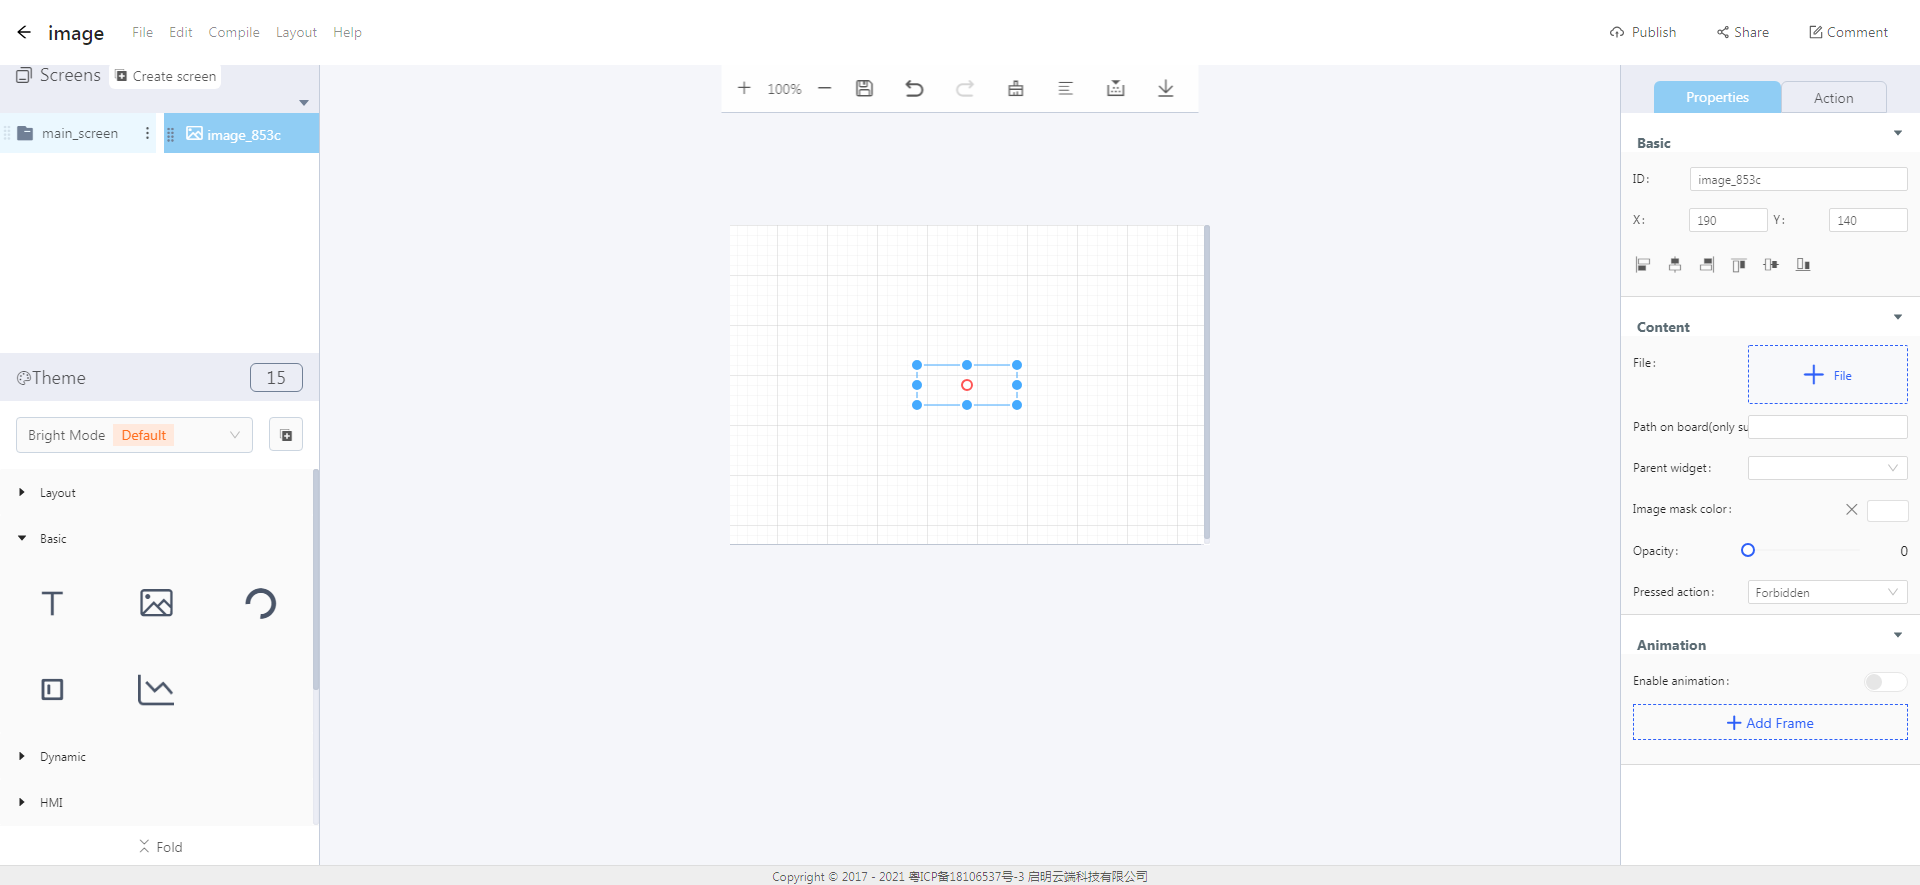
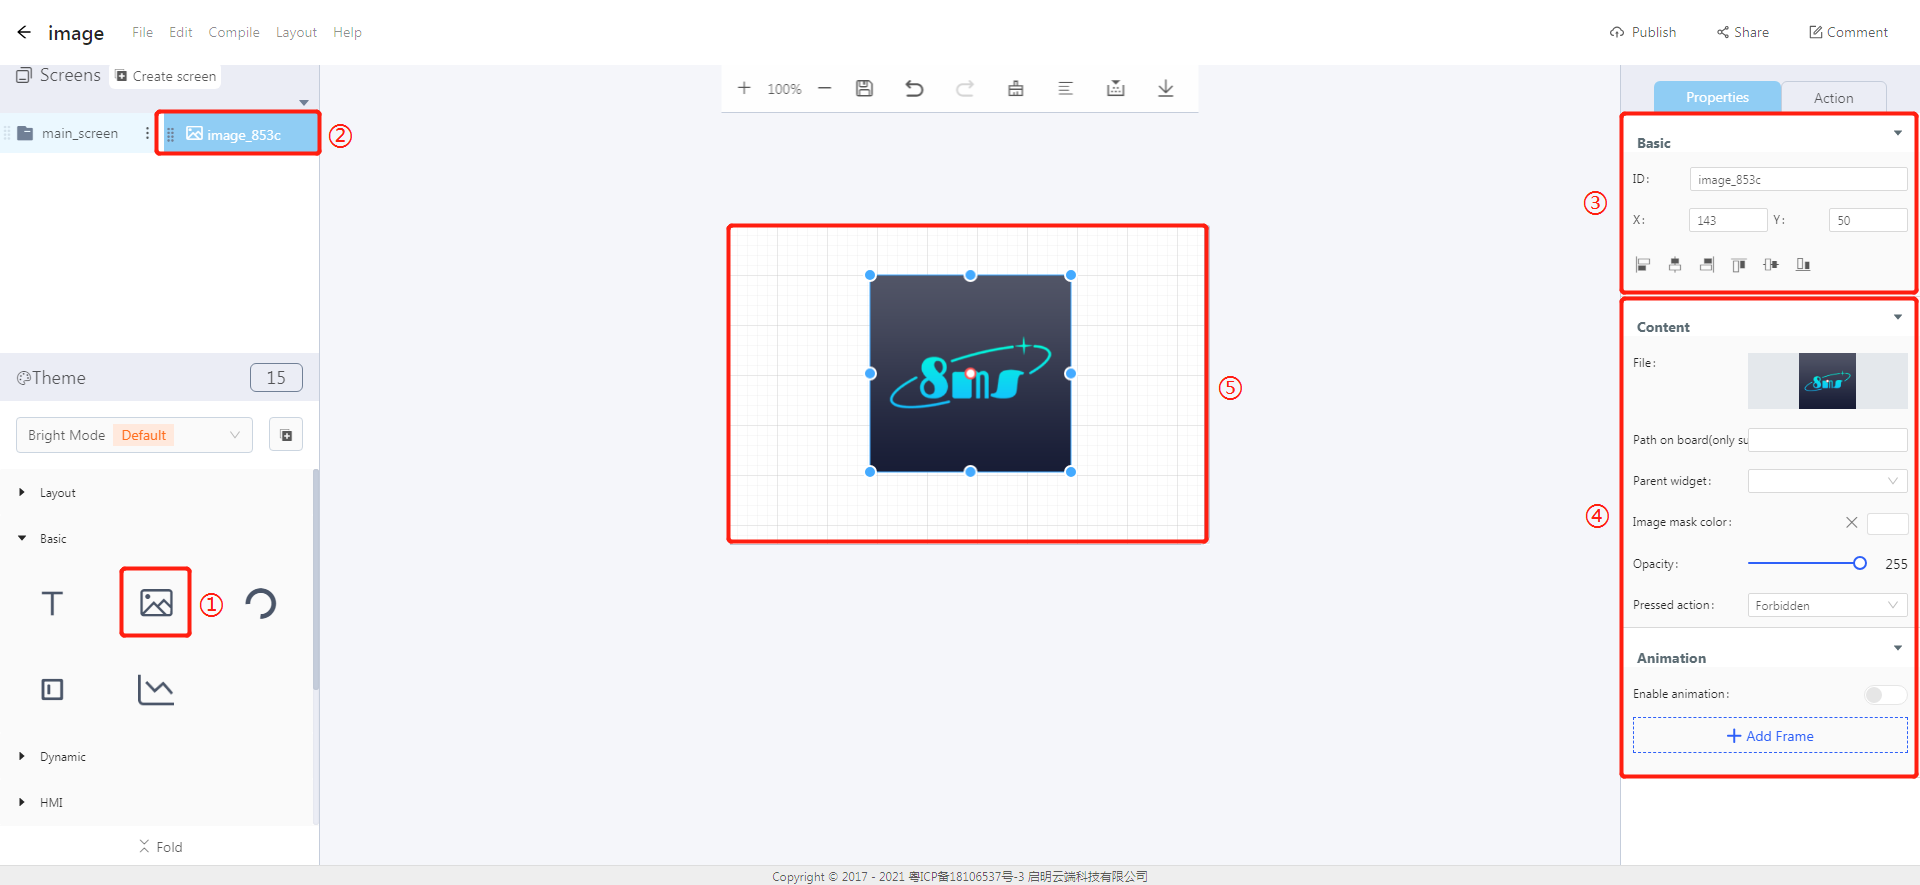
① Click on the image icon to create an image widget.
② The image widget ID.
③ Properties-Basic:
- ID: image_853c is the unique ID number of the image widget
- X, Y: Its coordinate position in the display area
- Alignment (in order):Left alignment, horizontal center alignment, right alignment, top alignment, vertical center alignment, bottom alignment
④ Properties-Content:
- File: Click on “File” to add an image
- Path on board(only support png now): Add the image path
- Parent widget: Set the parent object, and the image widget is its child object
- Image mask color: Set the image mask color
- Opacity: Set the transparency for an image
- Pressed action: Enable/Forbidden
- Animation
Resources dialog box
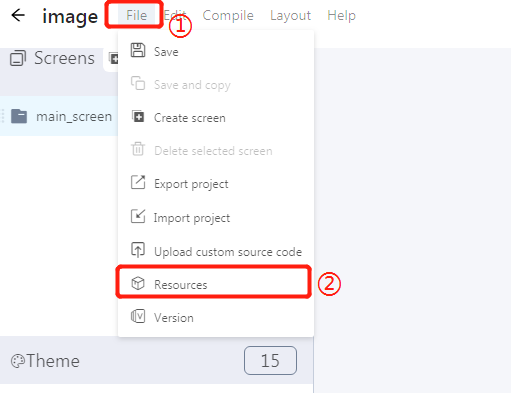
① Click on File and the file list will pop up.
② Click on Resources and the resources box will pop up.
Note: When adding a file to an image widget or a button widget, the resources box will pop up.
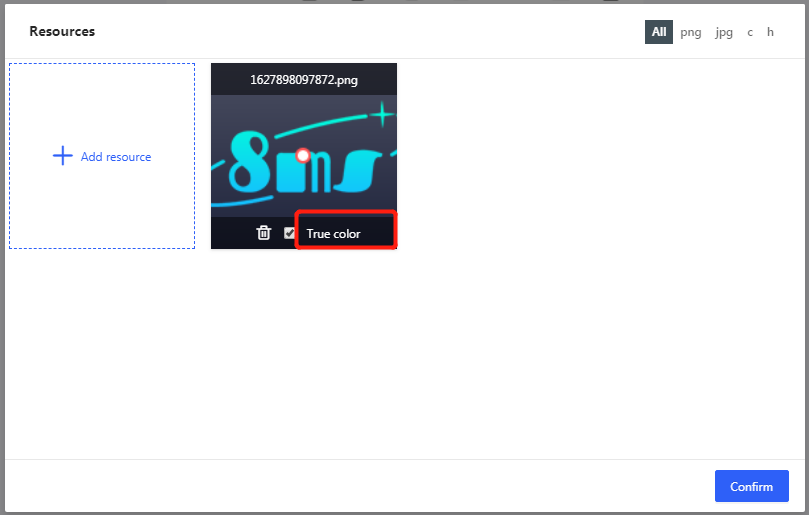
- Resources Box
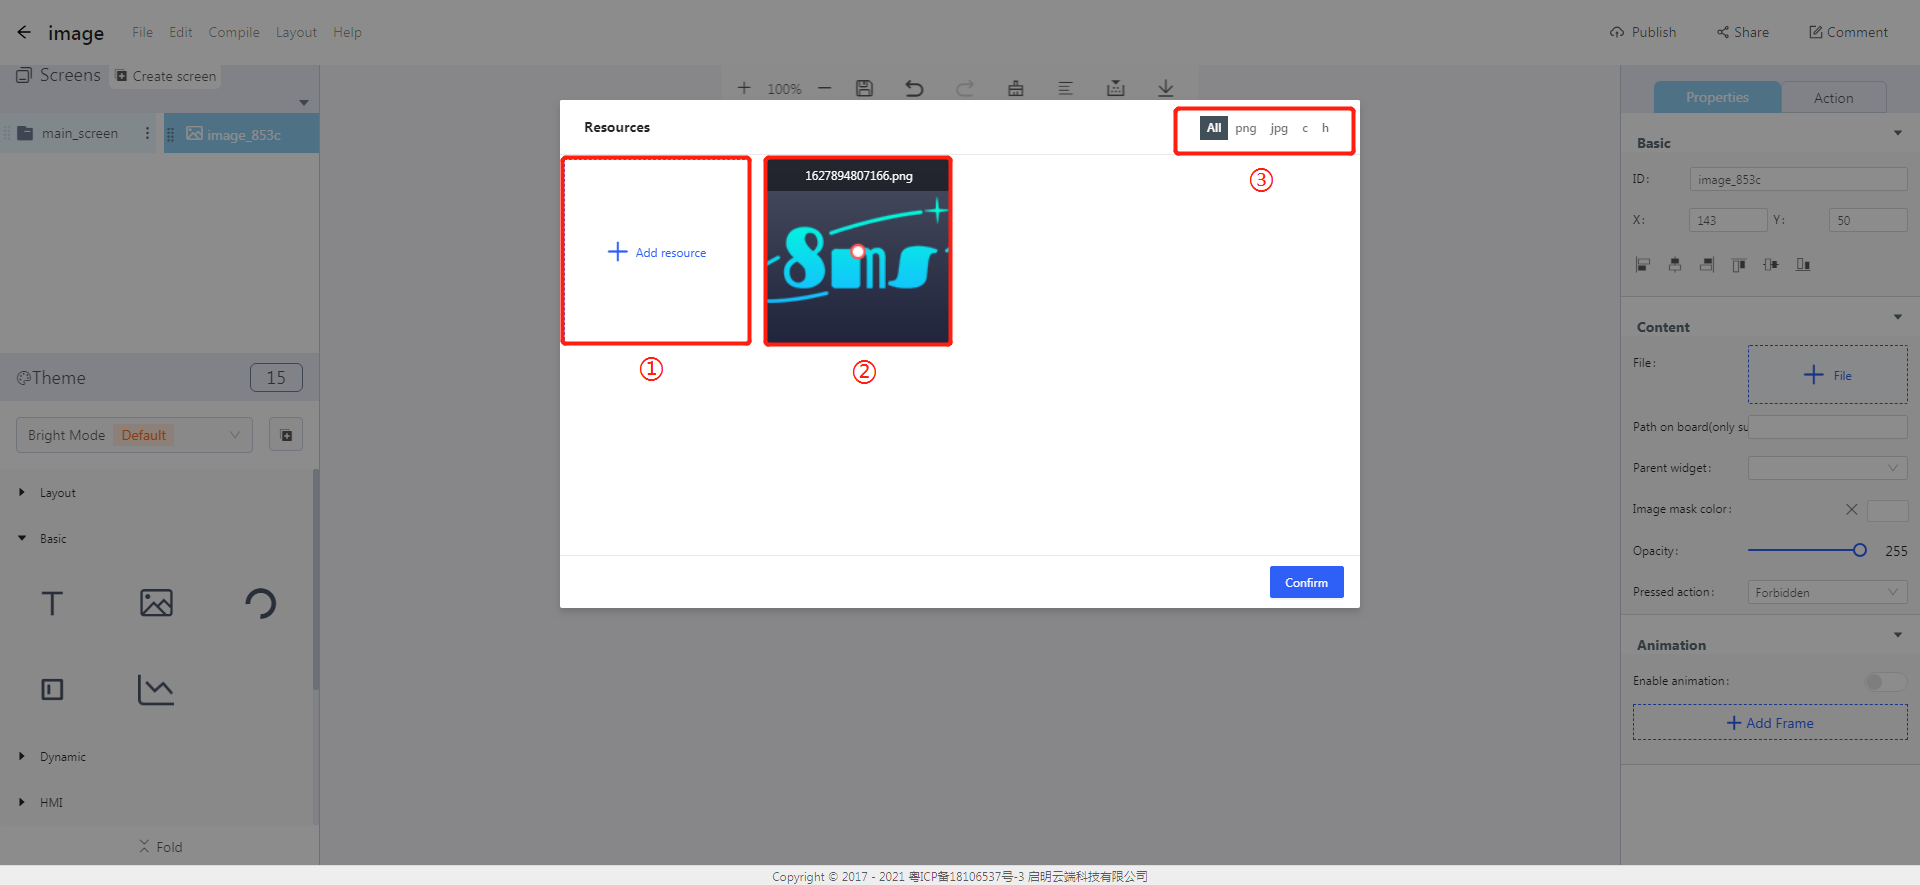
① Add resource: Click to add resource.
② File resource management area: You can view, select and delete the added files.
③ Select by file type: the default is ALL.
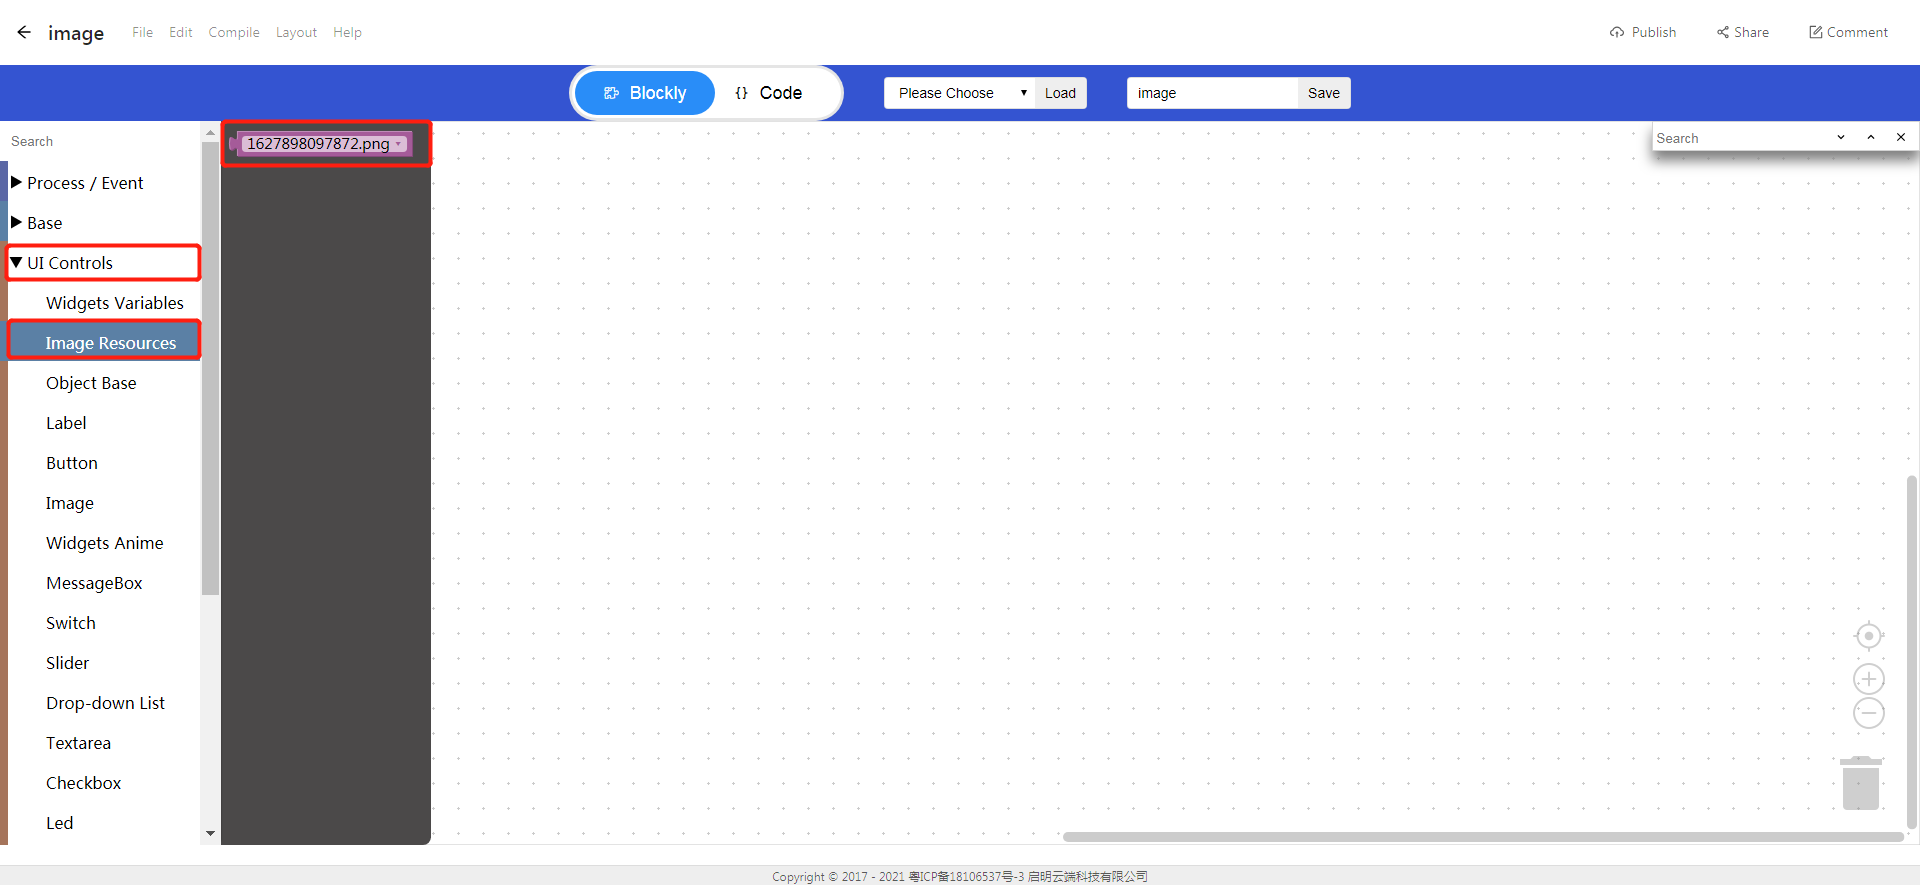
- Click on Blockly->UI Controls->Image Resources to check the added image resources in the project.
Image encoding mode
- The image is in true color by default.
